Diy Long Shag Haircut: The Ultimate Guide To Cutting Your Own Hair At Home
Here are some additional tips for cutting your own long shag haircut at home:
- Use sharp shears. Dull shears will make it more difficult to cut your hair evenly.
- Cut your hair in small sections. This will help you to avoid making any major mistakes.
- Start by cutting the layers around your face. This will help to frame your face and create a flattering shape.
- As you cut, be sure to blend the layers together so that they look smooth and natural.
- Don't be afraid to experiment. There are no hard and fast rules when it comes to cutting a shag haircut. Just have fun and see what you come up with.
Are you thinking of giving yourself a long shag haircut? If so, you've come to the right place! We have all the information you need to get started.
In this article, we will walk you through the steps involved in a DIY long shag haircut. We'll also provide some tips on how to style your new haircut to perfection.
So what are you waiting for? Start reading today!
FAQ of diy long shag haircut
What are the benefits of a DIY long shag haircut?
There are many benefits to doing a DIY long shag haircut. First, it can save you money. Haircuts can be expensive, so doing it yourself can be a great way to save some cash. Second, it can give you more control over the haircut. If you go to a salon, the stylist may not give you exactly the look you want. But if you do it yourself, you can be sure that you'll get the exact haircut you're after. Third, it can be a fun and rewarding experience. Learning how to cut your own hair can be a great way to express your creativity and style.
What are the challenges of a DIY long shag haircut?
There are a few challenges to doing a DIY long shag haircut. First, it can be difficult to get the layers right. If you're not careful, you can end up with a haircut that's too choppy or uneven. Second, it can be hard to get the desired volume. If you have fine or thin hair, you may need to use styling products to add volume. Third, it can be difficult to cut your own bangs. If you're not experienced, you may end up with bangs that are too short or uneven.
What are the steps involved in a DIY long shag haircut?
Here are the steps involved in a DIY long shag haircut:
- Wash and condition your hair.
- Blow-dry your hair until it's mostly dry.
- Part your hair in the middle.
- Start cutting the layers at the nape of your neck.
- Work your way up the back of your head, cutting the layers progressively shorter as you go.
- Cut the layers in the front of your head, tapering them towards the face.
- Trim the bangs, if desired.
- Style your hair as desired.
What are some tips for styling a DIY long shag haircut?
Here are some tips for styling a DIY long shag haircut:
- Use a texturizing spray to add volume and texture.
- Use a sea salt spray to enhance the natural waves in your hair.
- Use a mousse to volumize thin hair and minimize frizz.
- Use a styling cream to define the layers of your shag.
- Blow-dry your hair with a diffuser to create a voluminous, wavy shag.
- Use a flat iron to create a sleek, straight shag.
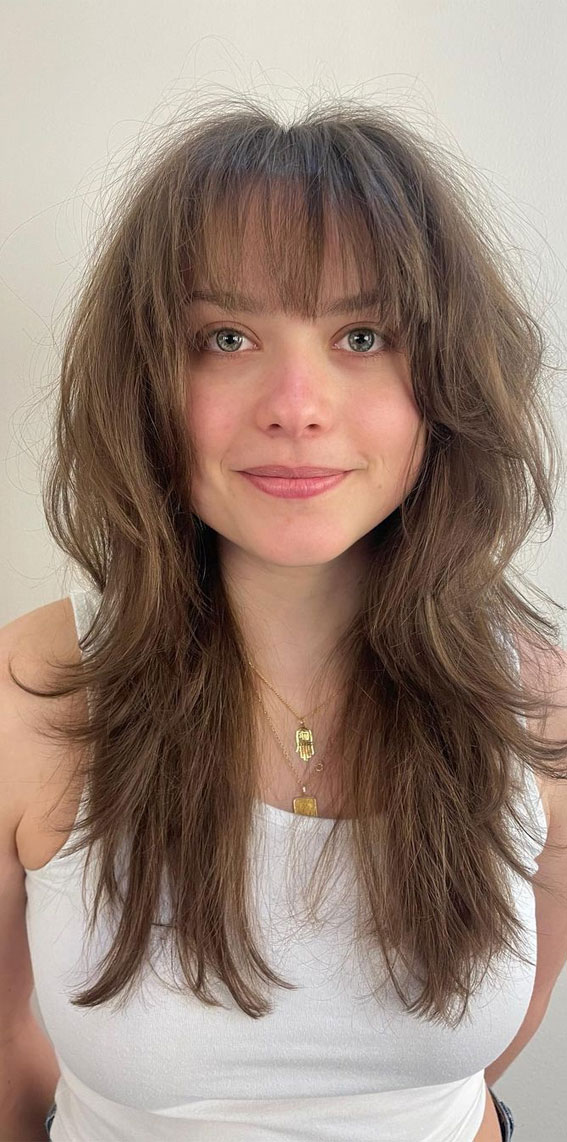
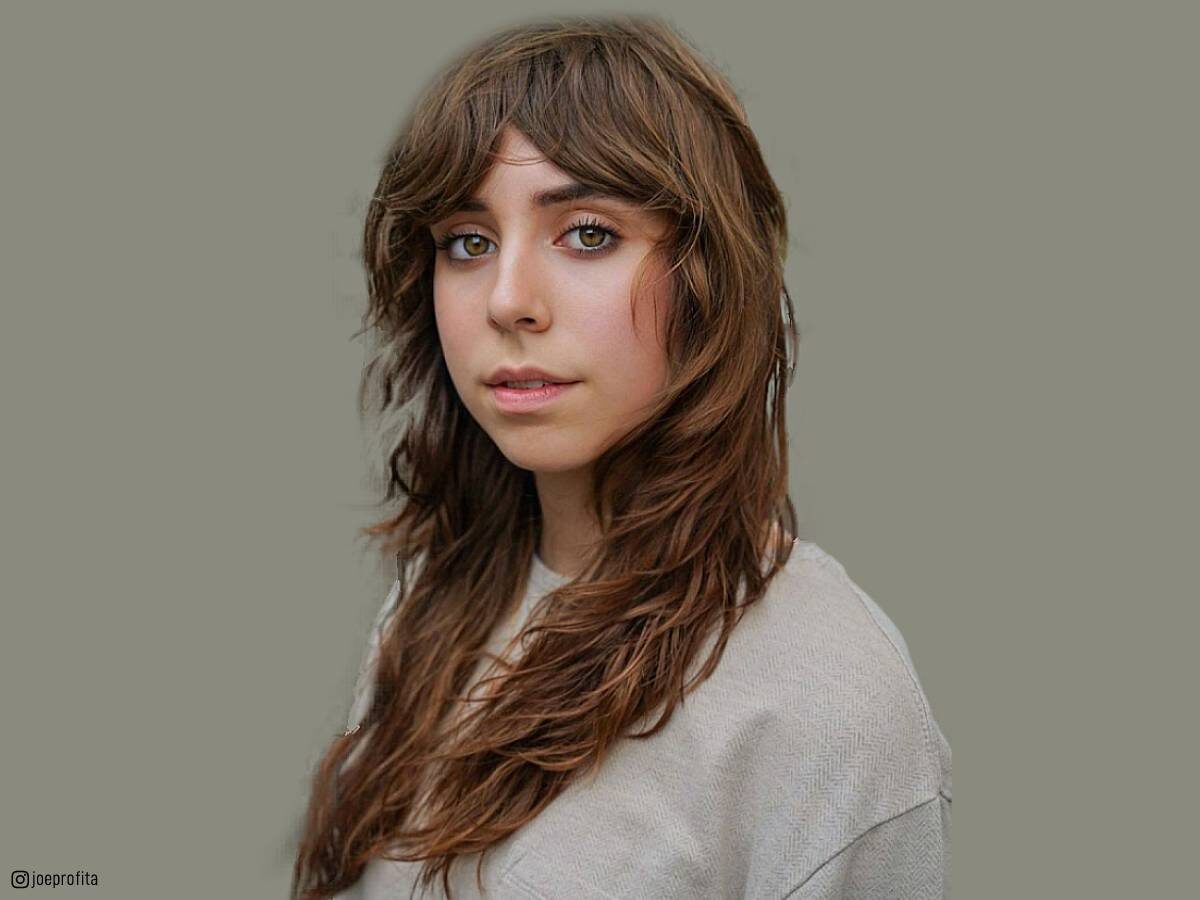
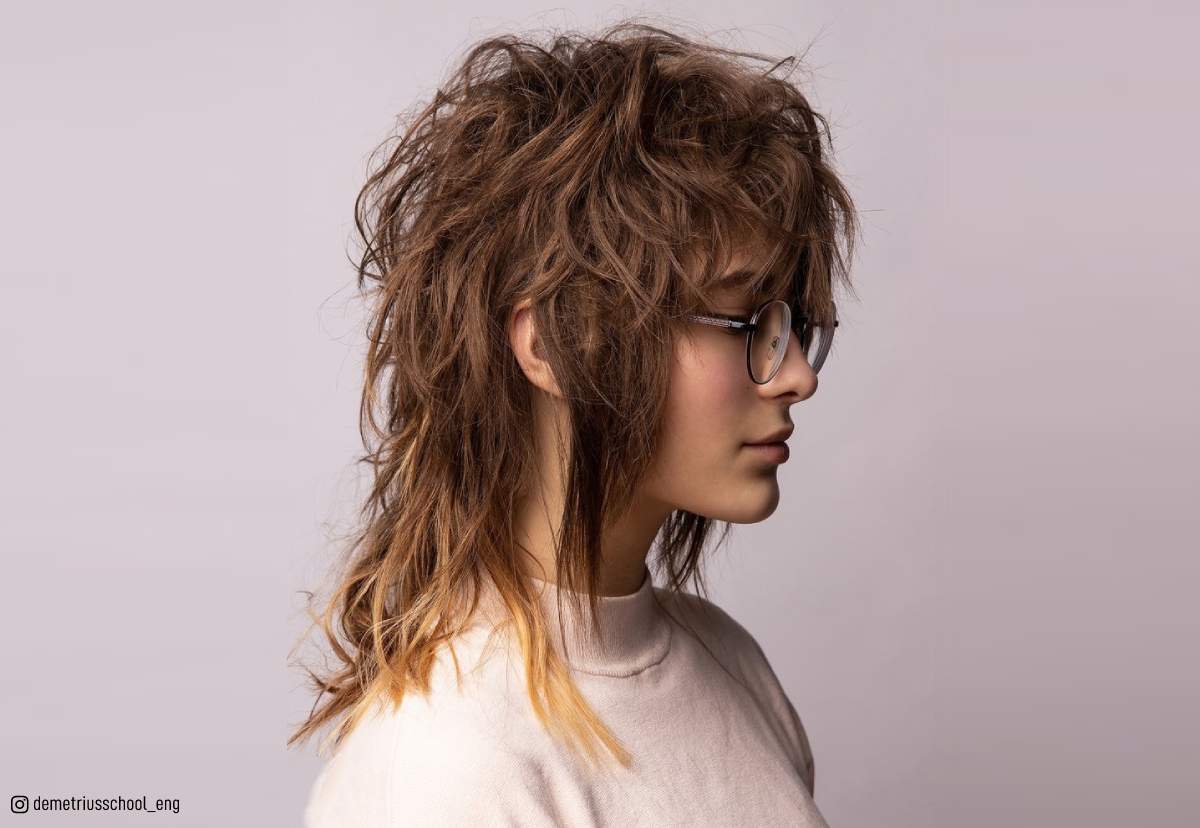
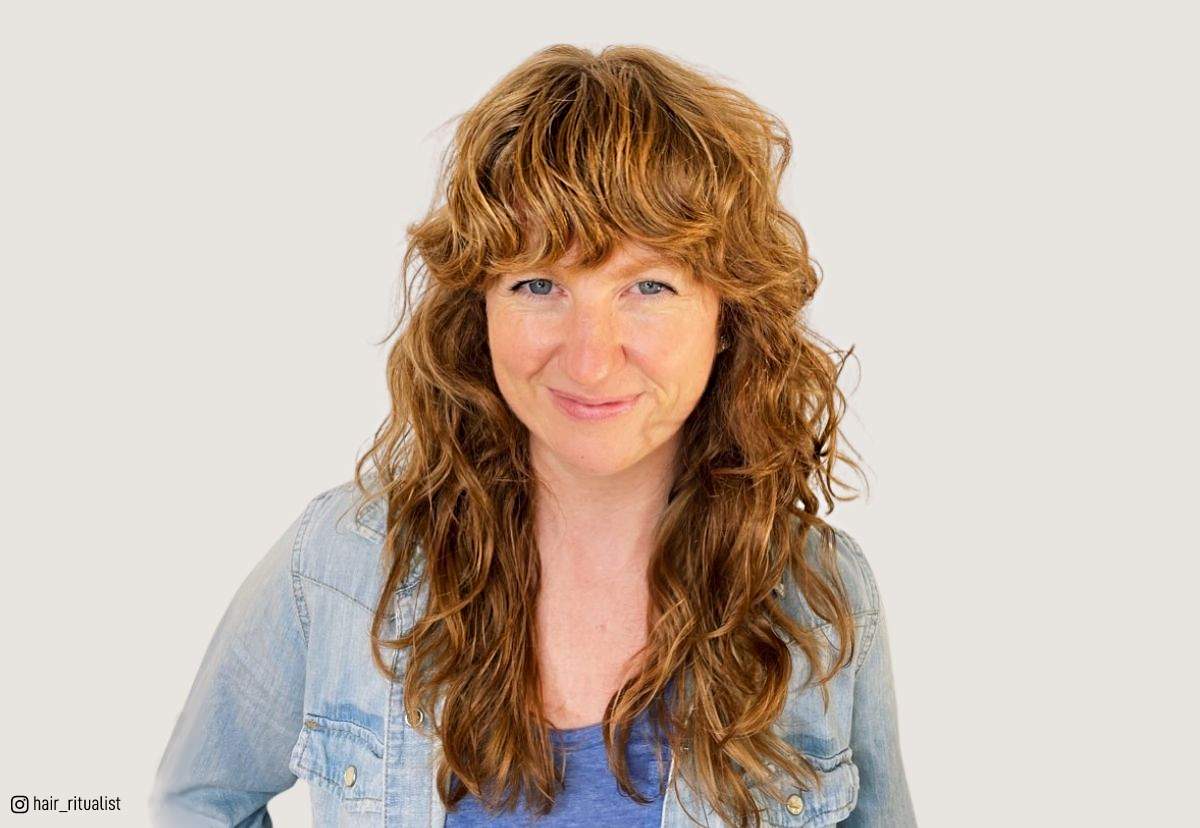
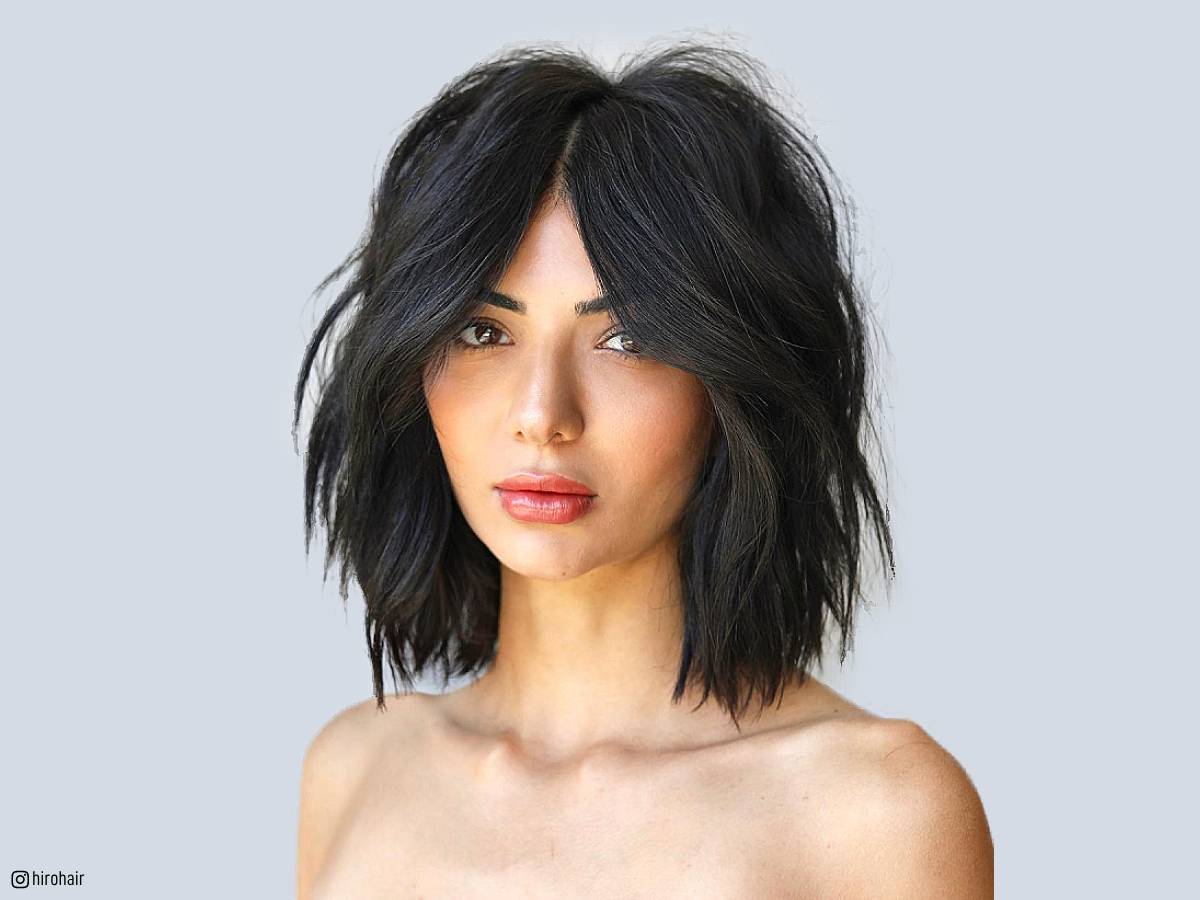
Image of diy long shag haircut
- Image 1: A long shag haircut with blunt bangs and side-swept layers.

- Image 2: A long shag haircut with wispy bangs and face-framing layers.
- Image 3: A long shag haircut with a deep side part and asymmetrical layers.

- Image 4: A long shag haircut with curtain bangs and tousled waves.
- Image 5: A long shag haircut with a mullet-inspired back and sides.
- Image 6: A long shag haircut with natural waves and a middle part.
- Image 7: A long shag haircut with a textured bob and side-swept bangs.

- Image 8: A long shag haircut with layered layers and a tousled finish.

- Image 9: A long shag haircut with a graduated bob and wispy bangs.
- Image 10: A long shag haircut with a blunt cut and a side part.

Post a Comment for "Diy Long Shag Haircut: The Ultimate Guide To Cutting Your Own Hair At Home"